Contents
Checking your vehicle’s engine oil is a quick and simple maintenance project that almost any driver can do themselves. Even if you don’t feel up to the task of changing your own engine oil, chances are that you will be able to check it yourself. Most models should have an oil change about every three months or three thousand miles. In between your regularly scheduled oil changes, you can check your engine oil levels to ensure that it has not become too low or dirty.
Follow these simple steps to check your vehicle’s engine oil:
- 1
Find a Lint Free Rag
Locate a lint free rag or a scrap of old fabric to use when checking your oil. An old t-shirt usually works great.
- 2
Read Your Owner’s Manual
If you are extremely unfamiliar with what is under the hood of your vehicle, you will find a detailed description of where your dipstick is located in your owner’s manual.
- 3
Warm Up Your Car
It is best to check your oil while it is warm. A great time to check you oil is after a quick trip to a local market or around your neighborhood.
- 4
Turn Your Car Off
Make sure that you turn your vehicle off before you begin the process of check its oil.
- 5
Pop the Hood
Pull the handle located on the inside of your vehicle, usually on the side of the driver side door, and the press the lever located underneath the center of the hood. Make sure that the hood of your car is securely propped.
There’s no point in feeling embarrassed if you do not know how to open your hood. Check this short video for a clue:
- 6
Locate the Dipstick
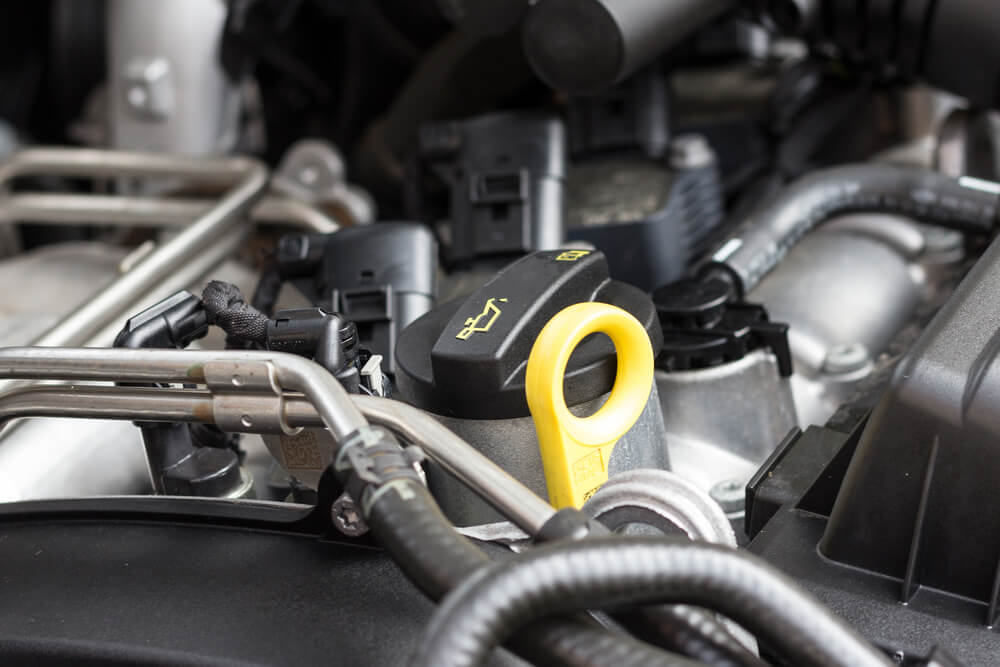
On most models, the dipstick is located on the left side of the engine. The dipstick usually has a yellow or orange circular handle that is clearly visible. When you pull this handle, a long piece of metal will slide out of the engine.
The cap of the dipstick will usually be yellow![dip stick]()
- 7
Clean the Dipstick and Reinsert
Once you locate and remove the dipstick, clean it with your rag and slide it back in. Make sure that the dipstick is inserted all the way back in.
- 8
Remove the Dipstick and Inspect
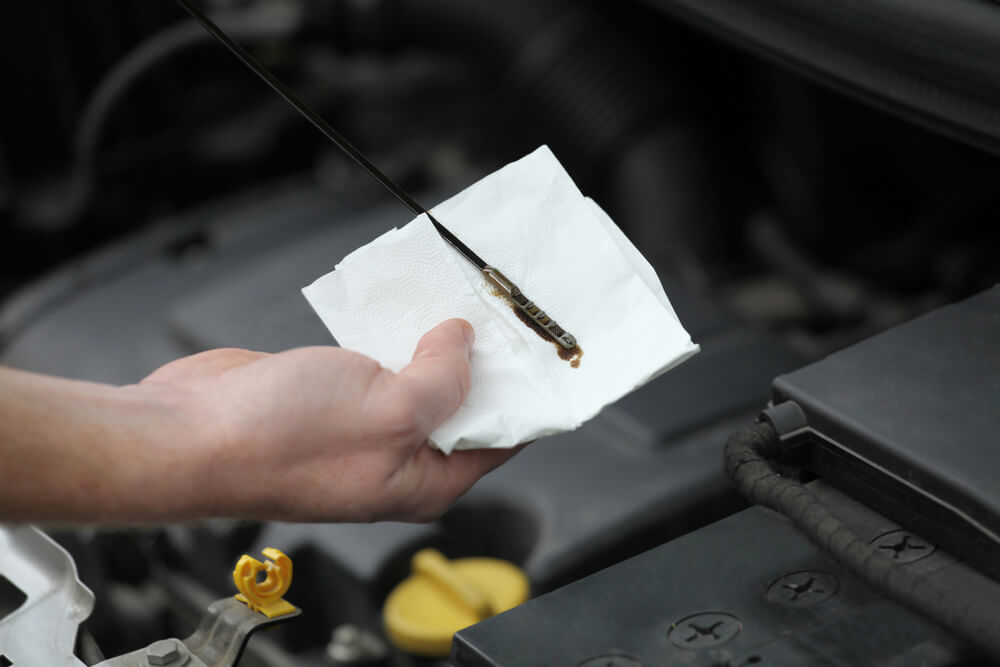
Next, remove the dipstick once more. Look at the end of the dipstick. Some models will have a line marked “full” while others will have a textured area that represents the capacity of the oil pan. The oil will appear amber in color. It should be fairly easy to discern the oil level by looking at the dipstick.
The low level of oil, as in the picture, will lead to serious engine damage![gritty oil]()
Normal Oil Level
If the dipstick indicates that the oil level is normal, reinsert it.
Low Oil Level or Dirty Oil
If the dipstick indicates that the oil level is low, touch the end of the dipstick with two fingers and feel of the texture of the oil. If the oil is clean, you can add new oil using a funnel. If the oil is gritty, it is necessary to have your oil changed as soon as possible.

Checking you vehicle’s oil level is a simple task that takes only a few minutes to perform. Knowing how to check your oil will enable you to ensure that your engine is being properly lubricated.


